Chrome Proxy – ResiProx Proxy Integration Guide
Introduction
Welcome to the Google Chrome proxy integration guide. This guide will walk you through the different ways to use proxies with the Google Chrome Browser. We will show you how to use proxies in Chrome without any plugins, as well as the top plugins to use proxies with.
Prerequisites
Before you begin, ensure you have the following:
- Google Chrome installed
- An active ResiProx account (HTTP or SOCKS proxies)
Step 1: Choose Your Residential Proxy
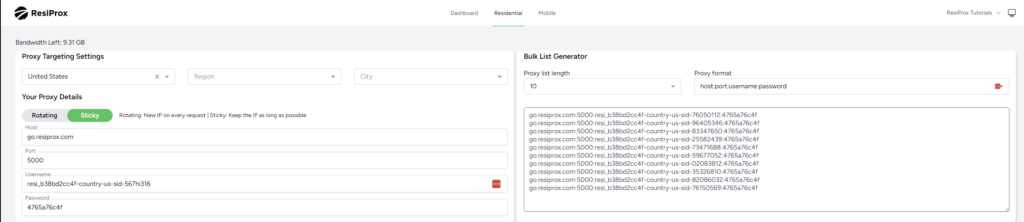
- In this example we will use a Rotating Residential Proxy with Sticky session from ResiProx
- Choose your Proxy Targeting Settings – You can filter proxies by Country, Region & City
Option 1: Using Proxies in Chrome Without Plugin (Not Recommended)
- Copy Paste This In Your Address Bar “chrome://settings/?search=proxy+settings”
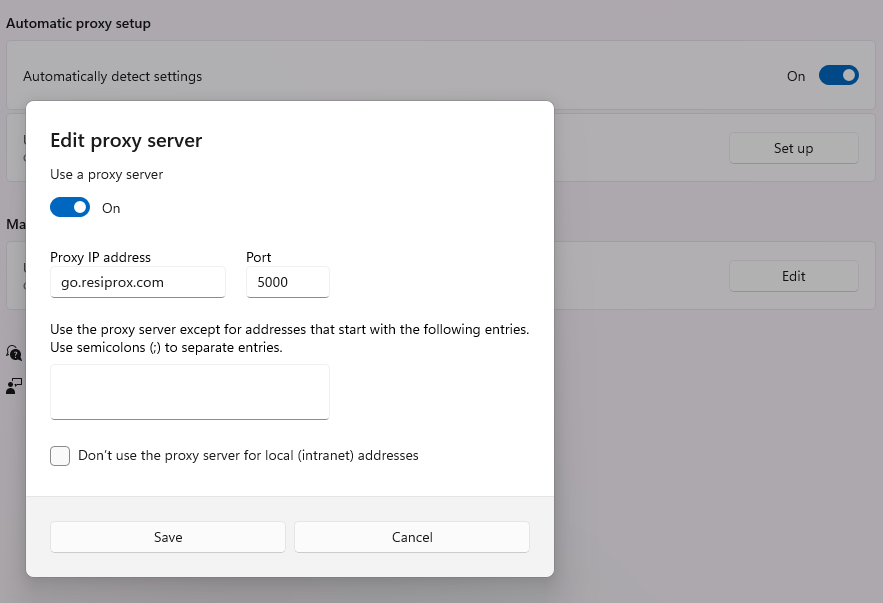
- Click on Open Your Computer’s Proxy Settings
- Click on “Use a Proxy Server” & Enter the ResiProx Host & Port from your account
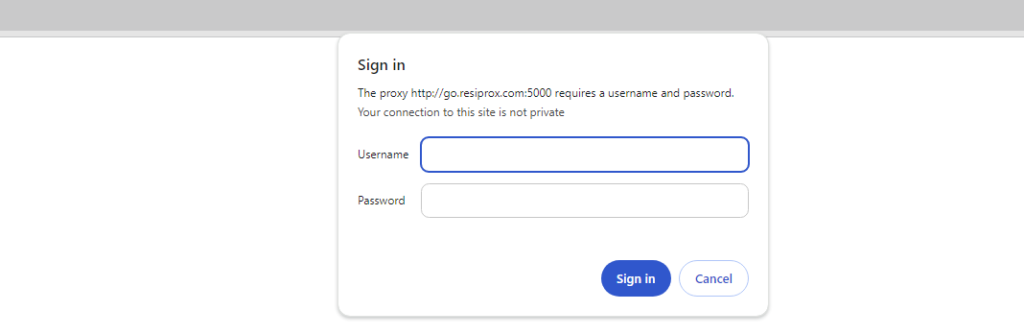
4. After you try to open a website you will see the following window, where you need to enter your proxy username and password that you generated in Step 1
Why is it not recommended to use proxies without a plugin? – When you put your proxy on your computer’s system settings ALL of your internet usage will go through the proxy, instead of just your Google Chrome usage, resulting in a lot more traffic being used due to automatic app updates, syncing and just general usage. It can also cause errors with some other softwares which do not support using proxies.
Option 2: Proxy SwitchyOmega Plugin For Chrome
- Download the Proxy SwitchyOmega Plugin
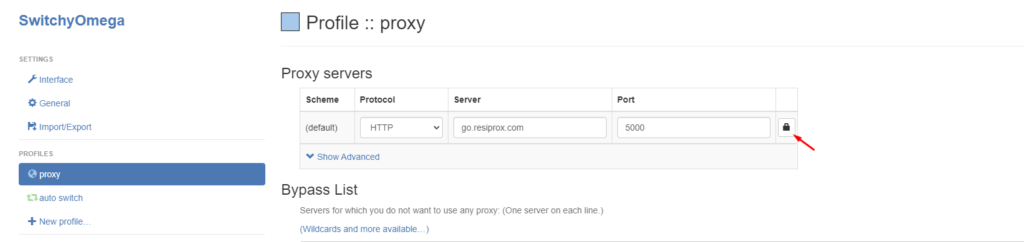
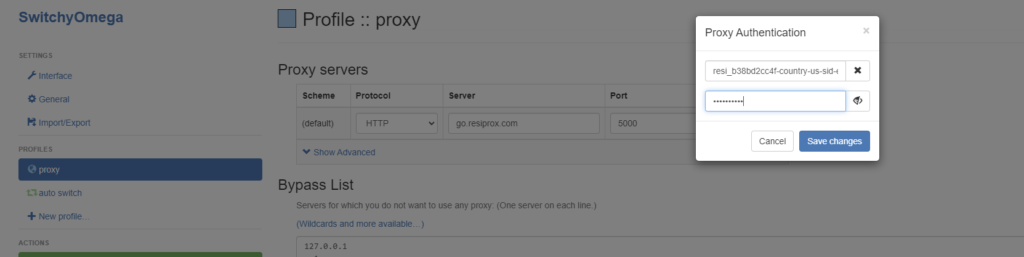
- Upon launching it, you will see that there is already a default proxy profile setup, enter ResiProx’s Host and Port on it, and then click the little Lock Icon in order to be able to write your Proxy Username and Password generated in Step 1
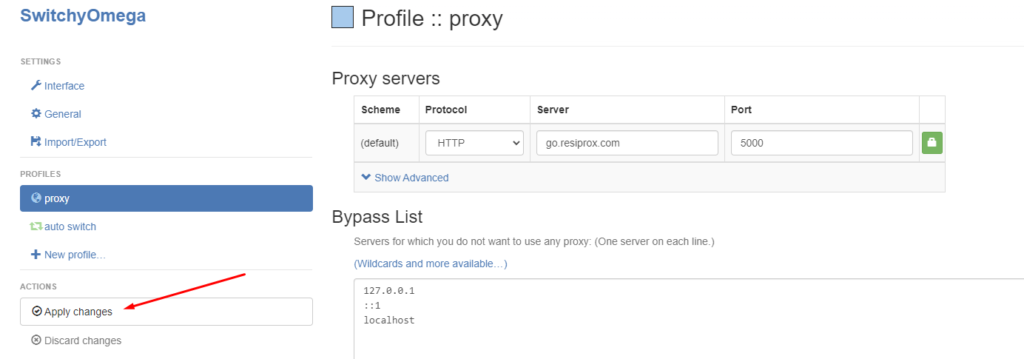
After you have clicked Save Changes, you also need to click on Apply Changes in the Bottom Left Corner
After all of this has been done, click on the Plugin Icon and switch from System Proxy to the “Proxy” profile you have edited just now and your proxy will work.
Keep in mind that due to limitations of Google Chrome & Proxy Manager Plugins for it, you can not use SOCKS5 connection protocol if your proxies require username and password authentication.
Option 3: Proxy Switcher And Manager
- Download the Proxy Switcher and Manager Extension
- Upon Launch you’ll be shown a quite extensive FAQ by their team, but you can also follow the steps below:
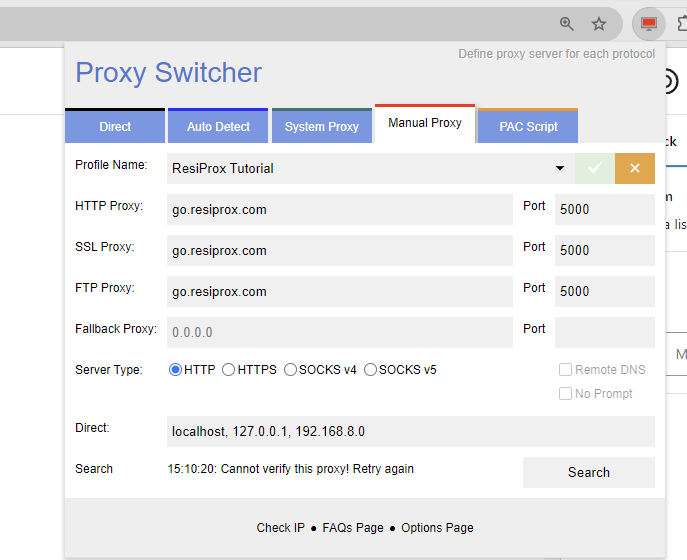
- Pick the Manual Proxy Option and enter ResiProx’s Host and Port
- When you try to open a page you will be shown a screen where you need to enter your proxy username and password, similar to how it would show up if using the proxies directly in Chrome
Option 4: Other Proxy Company’s Plugins
You can also consider using one of the plugins released by other proxy companies, they work quite well with proxies from any provider:
Keep in mind that you can not use SOCKS5 connection protocol on Chrome either with or without plugins if your proxies require user and password authentication.
Conclusion
We’ve shown you all the different ways to use proxies in the Google Chrome Browser. However for best results it is recommended to use an anti-detect browser instead, because they handle proxies & fingerprint protection much better than a simple Chrome plugin. You can also use SOCKS5 with user&password authentication proxies with anti-detect browsers.